Thanks for following up from our previous blog!
So your child is now ready to write – how do you make sure they learn to write their name well and without stress??
You use a lot of PLAY!
Here are some tips!
- When you feel like your child might be ready to learn to write try to teach correct letter formation from the start – don’t dwell on it, but try so they form the correct habits. Each state in Australia uses different standard fonts so please look up your state’s font.
- Also Remember they will need to write their name with 1 capital letter and the rest lower case so try to start that way to prevent them having to learn their name twice!
- Start by learning the order of the letters in their name –
How do you spell their name?
What do the letters look like?
They are unlikely to be able to sound out their name and work out how to spell it, we need to teach them (this part can be completed before they are ready to write, as long as it’s fun).
- You can do this verbally using rhythm, groupings and/or melody – turn their name into a song with rhythm and grouping the letters into chunks to help them remember it for example ‘B.e.n. – j.a. – m.i.n. says Ben-ja-min’ keep singing this over and over to help them recite it, when this is second nature it will be easy for them. Learning their name this way can be done from quite a young age, even as young as 2.
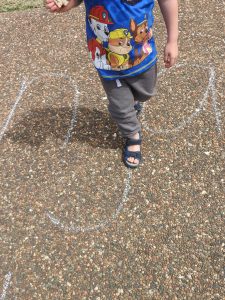
- Get used to the order of the letters on a big scale – write their name on the ground in big letters, and call out the letters they need to stand on. i.e. jump on the letter ‘n.’ This is a great way to get children who love movement to be keen to play. It helps them learn their placement as well as what each letter looks like.
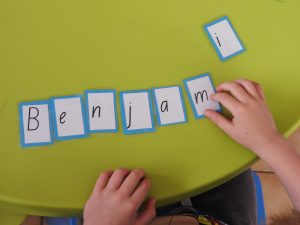
- You can use a visual element by turning their name into a puzzle – having to put all the letters in the correct order. If they are having difficulty combine the visual and the verbal by singing their spelling while they put their letters in order
2. Move to writing–
- Start with their first letter of their name – Now unfortunately, it is important to note that if their name starts with A, X, K, M, N, W, Y, V or Z They may have difficulty with these letters due to the diagonal line element.
Diagonal lines are hard for children to draw and may not be possible for some children until they are 5. This just means that their ‘A’ might look more like a hill with a curved top rather than a pointy mountain or the ‘X‘ might look more like a ‘t’ at times. This will come in time so don’t worry about always correcting it, but keep working on their midline crossing skills (see other blogs). - Then move to other letters of their name that are easy to write so they feel accomplished – letters such as i,l,t,n,m,r,o,h,j,c are the easier of the letters. If your child’s name is Jack – I would work on the J and c first then work on the a and k later to help them feel like they succeeded at some letters rather than getting stuck on ‘a’ which is quite hard to write.
- Then, progress to the harder letters in their name such as a,b,d,e,f,g,k,p,q,s,u,v,w,x,y,z. Find or make up some helpful words to help your child remember where to start and where to go for example: f can be a ‘rainbow and down’. There are lots of ideas on the internet, have a look to see what will appeal to your child, but keep it simple!
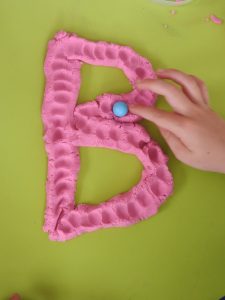
- Finally ‘practice makes perfect’ – practice the letters of their name (with correct formations) in different mediums for example:
- Shaving Cream
- Kinetic Sand
- Dirt
- On the beach with a stick or their finger
- In rice
- In flour
- Playdoh
- Walking around their letters (written on the ground in large font) using lolly pop steps to feel the formation with their whole body
- Give your child a wooden skewer (as long as you are sure they will be safe) to poke holes along the lines of their name, again making sure they start in the right place, you can help by drawing a different coloured start or dot at the place they start. When they are finished they can stick it on their window and see the sun shine through the holes too.
- The list is endless!

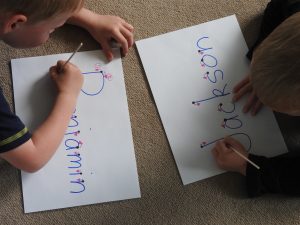
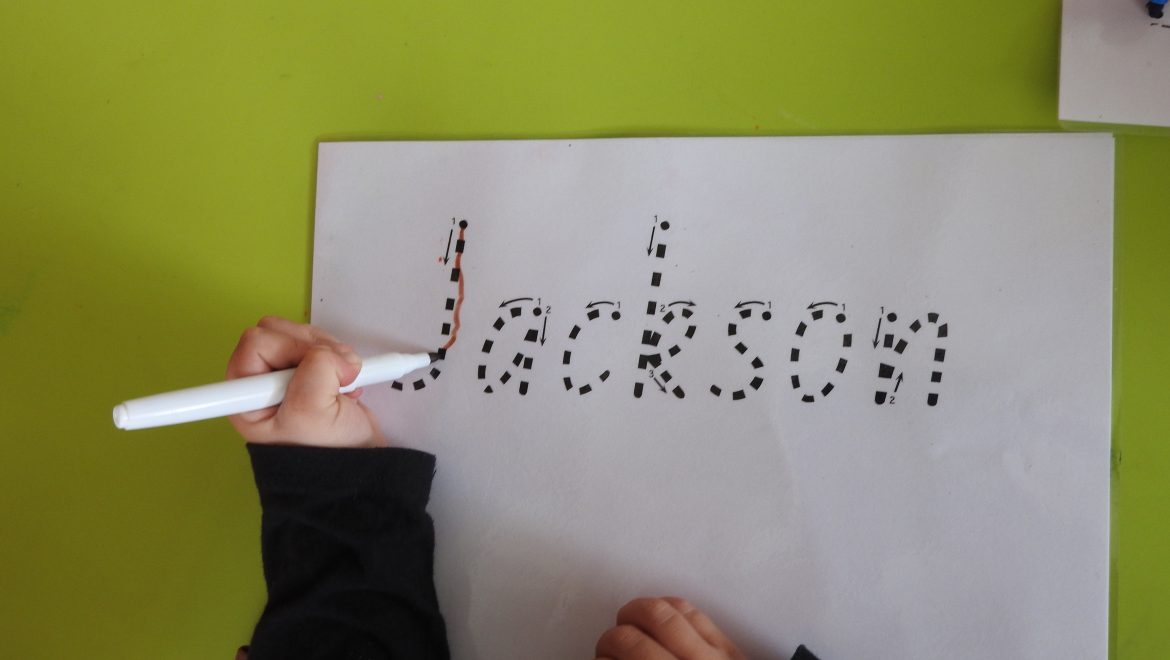
3. Then when they are comfortable with the order of the letters, what the letters look like and their formations we can actually move to writing their name on paper.
- Paper on a vertical surface or easel is often easier for children to use, but if that is not available on a table top is fine.
- Make your life easy – make the templates reusable – use plastic sleeves, laminated paper, photo frames or anything you can use a white board marker on and it will wipe off!
- Make a template – write their name in bubble writing, so the child can stay between the lines or write their name in dots to trace. Keep using verbal cues of how to write the letters, there are lots of fun ways of describing letter formations, find what works for your child.
Good luck and have fun, don’t make it stressful!